
Install Reemoat
Install the app on the device you hold, then run one command on each Linux or macOS machine your agents should run on: no sudo, no Docker and nothing open to the internet. Reemoat is open-source, self-hosted software: its repository also holds the control plane, the server side, if you want to run that too.
Download the app
Every build is on the
latest release. Its
files, with the release's number where <version> stands:
| For | File | What you get |
|---|---|---|
| macOS, Apple silicon | Reemoat-<version>-macos-arm64.app.zip | The app, plus a daemon for this Mac |
| macOS, Intel | Reemoat-<version>-macos-x64.app.zip | The same |
| Android | Reemoat-<version>-android.apk | The app |
| Windows | Reemoat-<version>-windows-x64-setup.exe | The app |
| Linux | Reemoat-<version>-linux-x64.AppImage, Reemoat-<version>-linux-x64.deb | The app. Agents run through the installer |
| A server | install.sh | The daemon installer, below |
The macOS and Windows builds are not signed yet, so the system warns the
first time. On a Mac, move Reemoat to Applications and run
xattr -dr com.apple.quarantine /Applications/ once, or allow it
under System Settings → Privacy & Security. On Windows, choose
More info → Run anyway.
The app has no updater. A new version is a new download.
First run
You need an account on a control plane — the hosted one or your own.
- Open the app. Its first screen offers the hosted control plane at
app.reemoat.com; the pencil beside it points the app at your own. - Sign in. On a Mac, the app then sets that computer up as a machine.
- For any other machine, add a server.
- Set up an agent and start a session.
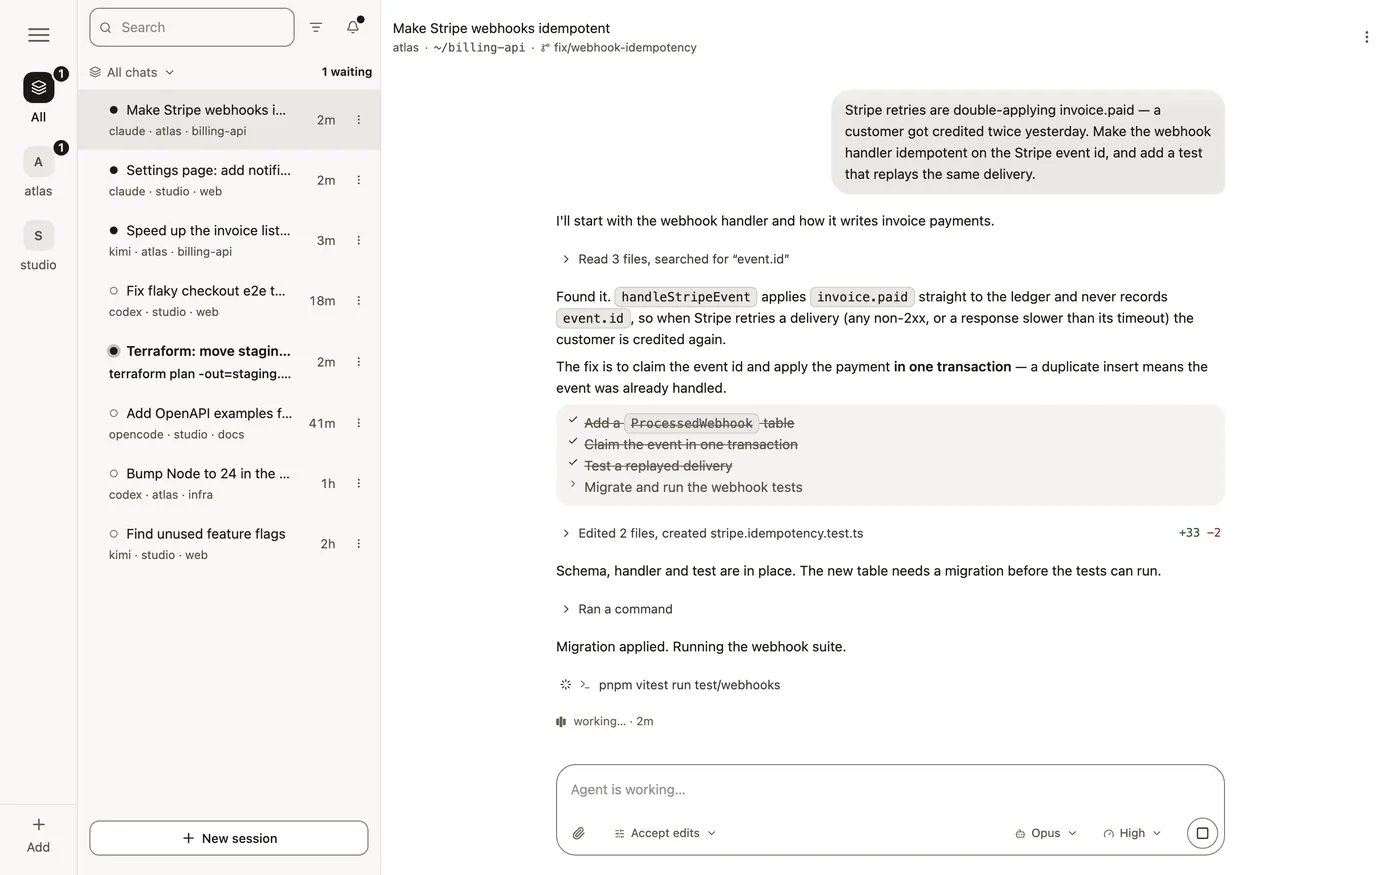
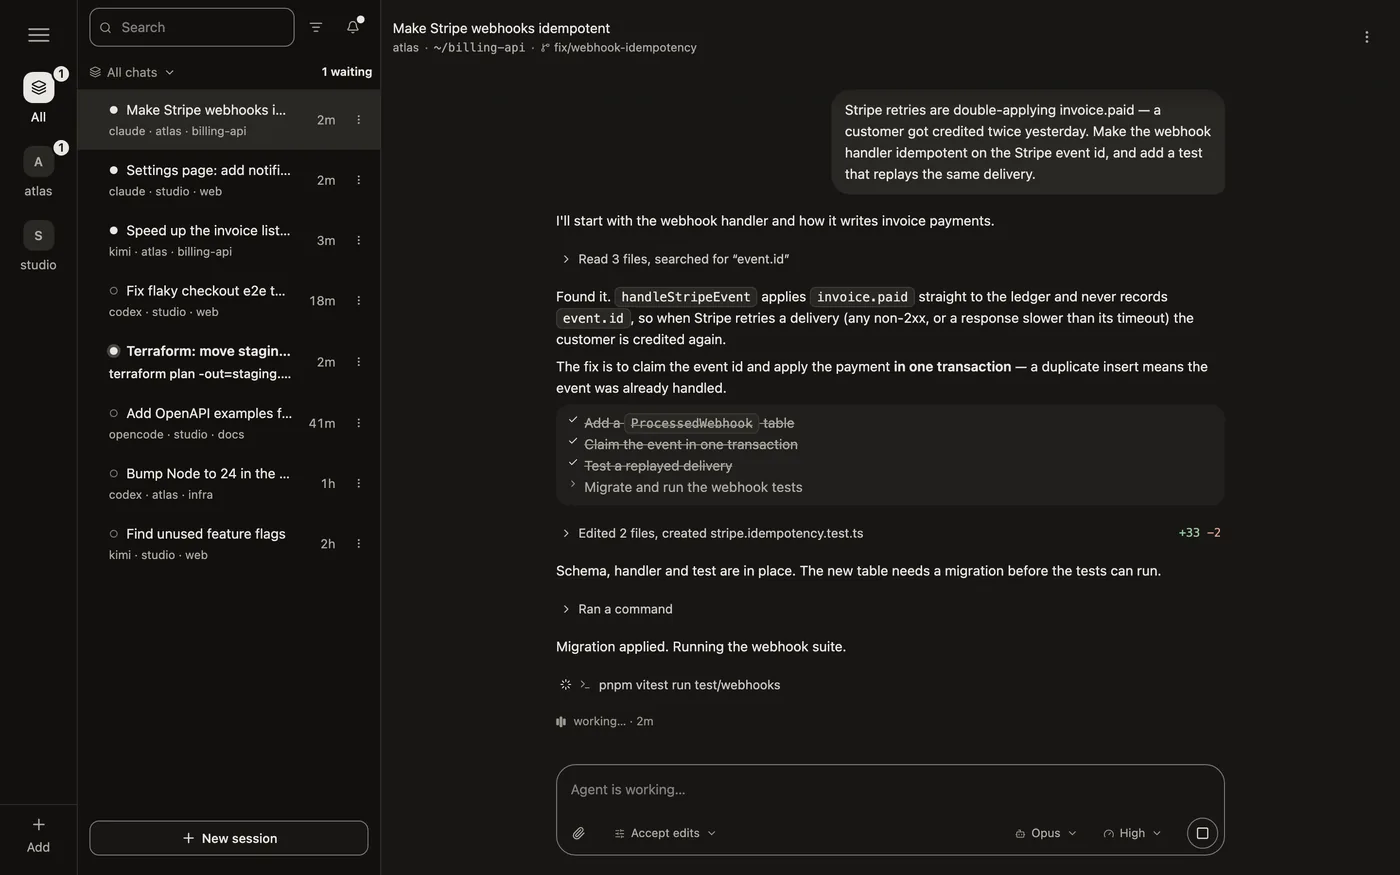
Add a server
On a Linux server, a box under the desk or a Mac without the app:
curl -fsSL https://github.com/rends-east/reemoat/releases/latest/download/install.sh | sh Piping a script into sh runs code from the network as your user. The
script is plain text, so read it first:
https://github.com/
It needs Linux with systemd, or macOS; x86_64 or arm64; and git. It writes nothing to your shell profile.
On Linux a user service stops at your last logout unless lingering is on.
If the installer cannot switch it on, it prints the
sudo loginctl enable-linger command. A headless Mac needs automatic login,
or nothing comes back after a reboot.
What it installs
| Installed | What it is |
|---|---|
~/.reemoat | Settings, the SQLite database, session worktrees and a toolchain directory. Without Node 24 or newer on the machine, the installer puts its own there: a download of about 55 MB from nodejs.org, checksum-verified, that unpacks to about 200 MB |
~/srv/reemoat | A checkout of the version your control plane runs, with about 220 MB of dependencies |
| A user service | A launchd agent on macOS, a systemd user unit on Linux |
| No agent CLI yet | The docs put those at about 700 MB |
Updating
To update, run ~/srv/. With no argument it moves the
checkout to the repository's main; --ref takes a tag or a commit. A daemon
restart interrupts every live session.
Join a control plane
The installer asks up to three things:
- Which control plane?
Your own, by address, or
app.reemoat.com. Nothing is joined until you name one. - Who are you on it?
Sign in, an API key, or a setup code. Where sign-ups are open, it also offers to create an account.
- A name for the machine
The default is its hostname.
Pass an API key as REEMOAT_API_KEY, because --api-key is visible in
ps.
Setup codes and API keys
A setup code comes from Settings → Machines in the app: single-use, valid one hour, worth one machine, no account credential needed. An API key is used to mint one code and then dropped: it is never saved to the machine's settings.
Installer flags
Flags go after sh -s --:
| Flag | What it does |
|---|---|
--url | Names the control plane and skips the first question |
--enroll-code | Takes a setup code |
--install-agents claude,codex | Installs those agent CLIs on the way in |
--ref v0.13.0 | Checks out that tag or commit instead of the version your control plane runs. The pin does not last: updating with no --ref moves to main |
--agent-source npm | Makes npm the source of Claude Code, Codex and OpenCode: the npm registry, or a mirror you point npm at, for a machine that cannot reach their vendors' sites. Kimi Code and Grok Build come from npm either way, and Cursor only from its own installer |
--yes | Skips the confirmations: the machine's name, enrolling this machine a second time and --purge. It does not answer the first two questions: which control plane and who you are |
--help | Prints every flag |
With no terminal, the script must be given the control plane and a credential:
--url, and REEMOAT_API_KEY or --enroll-code. Without a credential it
prints the non-interactive command and exits.
deploy/README.md
lists the other flags.
Set up an agent
No agent is installed with the daemon. In the app, open Settings → Machines → your machine → Agents and choose Set up from an agent's menu. The app installs the CLI on that machine, then walks you through signing in with the account or key you already have:
| Agent | Sign-in command | Or a key |
|---|---|---|
| Claude Code | claude auth login | CLAUDE_CODE_OAUTH_TOKEN, ANTHROPIC_API_KEY |
| Codex | codex login --device-auth | CODEX_API_KEY |
| OpenCode | none needed | OPENROUTER_API_KEY, OPENCODE_API_KEY |
| Kimi Code | kimi login | KIMI_API_KEY |
| Grok Build | grok --no-auto-update login --device-auth | XAI_API_KEY |
| Cursor | cursor-agent --disable-auto-update login | CURSOR_API_KEY |
A key is pasted under Settings → Machines → your machine.
For Codex a pasted key is not enough by itself: its adapter still wants a login written to disk.
On a Mac that runs the agents, Claude Code is signed in by hand: the app
cannot walk it through, so run claude setup-token in a terminal on that Mac
and paste the token into the app.
Run your own control plane
The control plane and its relay are two containers from one image, typically on a Linux box with a public address, Docker with the compose plugin, git and node.
- Clone the repository there.
- Run
deploy/install.sh control-plane. - Point the app at it with the pencil on its first screen.
The steps, the TLS proxy you put in front and backups are in deploy/README.md.
Uninstall
curl -fsSL https://github.com/rends-east/reemoat/releases/latest/download/install.sh | sh -s -- --uninstall This stops the service and removes its unit and the toolchain the installer
created, with any agent CLIs installed from npm. Add --purge after
--uninstall to delete ~/.reemoat and the checkout too. It asks first, and
refuses while the daemon may still be running. Neither removes the app.
What it leaves
~/.reemoat: the settings file, the database with your sessions, andworktrees, which may hold uncommitted work;- the checkout in
~/srv/reemoat; - vendor-installed agent CLIs and every agent sign-in;
- the machine's row in your fleet. Retire it under Settings → Machines.
When this is the wrong tool
- You want a sandbox. There is none: the agent runs as your own OS user.
- You need to be told when a session finishes or blocks. Nothing notifies you.
- You want to work from a browser. There is no browser client.
- The machine for the agents is not Linux with systemd or macOS, on x86_64 or arm64.
- You want nothing new on the server. tmux over SSH is the do-it-yourself route; see the comparison.